¿Prefieres hablar español?
pregunta por Ken

Welcome to The Clubcard design school! This tutorial with supporting video outlines the steps to setup a print ready business card file in Adobe Illustrator with embossed (raised) elements .
Step one is to create your art board and as we are embossing a business card in this tutorial our art board needs to 3.5" x 2" plus an 1/8" for bleed. When setting up ensure your raster effects resolution is set to at least 300dpi and you are working in CMYK colour mode.
Once this is done we are ready to start the artwork layout.
Second step - save your file! Save often it's a great way to have a return point at every step and avoids the stress of losing your work in the event of a glitch. Saving your work in stages ensures you have an up to date version to fall back to if needed.
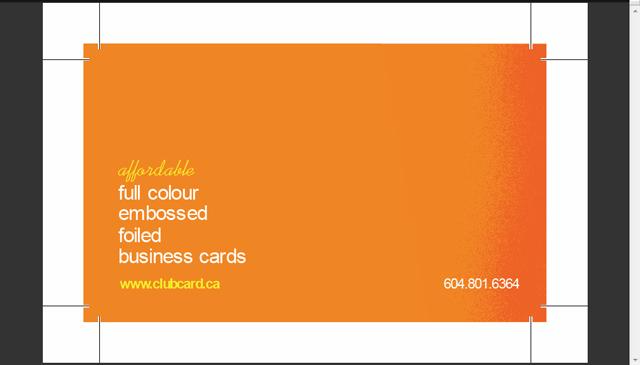
Step three - Start setting up your artwork. For this tutorial we already have some artwork ready and we drop that into the artboard. At this stage we are designing the same way we would for any business card.
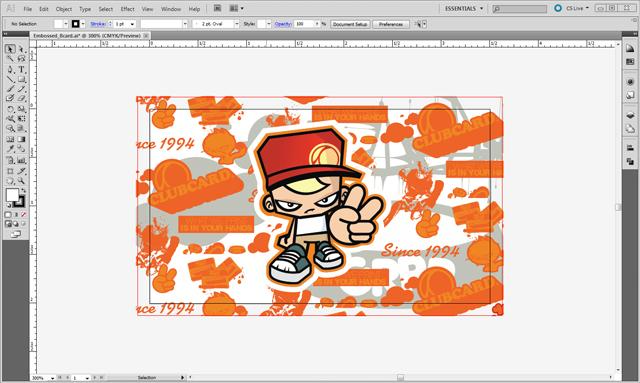
When the front side of our card is laid out, step four is to indicate what area will be embossed. Art that will be embossed needs to be supplied on a separate layer in the file in 100% black ink.
In this case we want our Clubcard Peace character in the center of the card to be embossed. We create an exact copy of the character and set it to 100% black ink. This way you can see exactly where the embossing will occur.
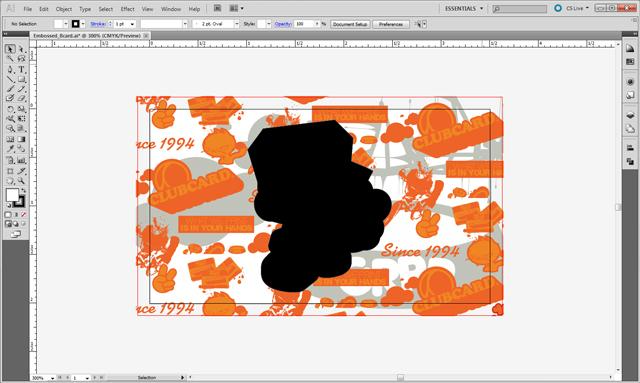
Step five - create a separate layer for this embossed element. Click on the new layer button in your layer window. Copy and paste this into the new layer. The front art and embossed element are now visible in their layers.

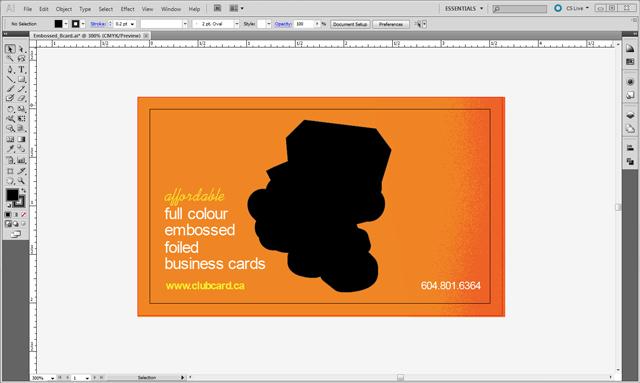
Nice work, the front of your business card is set-up! Let's start on the back of the card.we'll bring in the artwork for the back of the card and here are 2 vital tips to remember when designing.
1) whatever is embossed (raised) on the front of a card will be debossed (indented) on the back of the card. *At Clubcard we do print multiple layered cards that hide this effect.
2) Also keep in mind that the embossed element will be mirrored on the reverse of the card - so be sure to flip the image on the reverse when designing so you can ensure important graphics and text are not in the embossed/debossed area.
Good news! You're almost ready to print your cards at Clubcard. The final step is saving your files.
Go up to the File menu, select save as, and save as a PDF.
Export each layer individually and label them correctly.
For the front file - hide all the other layers and export a PDF with only the elements meant to print on the front.
Here we will name the front CMYK layers Front_CMYK.pdf and it will look like this:

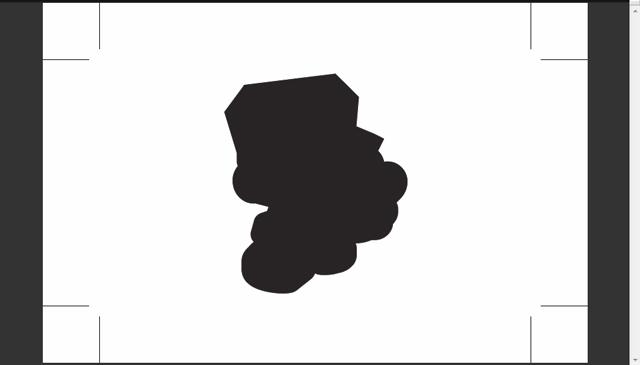
Now for the embossed layer, we only want to show the layers we will be embossing. Reemmber this layer needs to be saved as 100% black, this is how we create the die!
Be sure nothing else is included in this layer before you export, in our case it will look like this:
The back side is printed in full colour and will be named Back_CMYK.pdf. and will look like this:
Hey there studious one - these files are setup for embossing and ready for print. Yay!
Congratulations - it's time to order your very own Embossed Business Cards here
We love to share knowledge so Like us on Facebook !

Leave a comment